A lot of costumes and clothing have color effects or designs printed on them. I love the way a color gradient looks on fabric, so I love to chose costumes where I can apply this skill. This tutorial is going to mash up different ways to use all of these materials together - transfering image outlines for painting, hand painting, gradients with Color Tool Spray, Heat N' Bond with fabric painting and also with satin stitching! I will start from the basics and move up into more complicated adventures.
Here are some of the supplies that I use for painting, dyeing, putting a gradient into, and adding print to fabric:
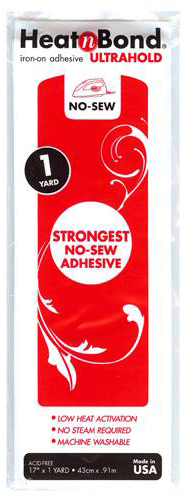
Heat N' Bond
|
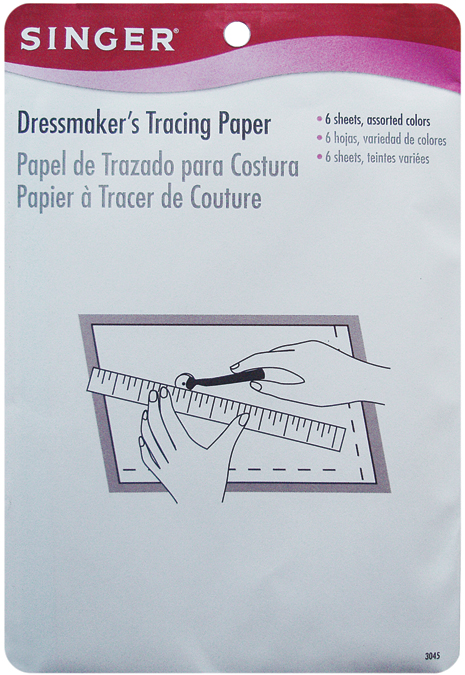
Dressmaker's Tracing Paper |
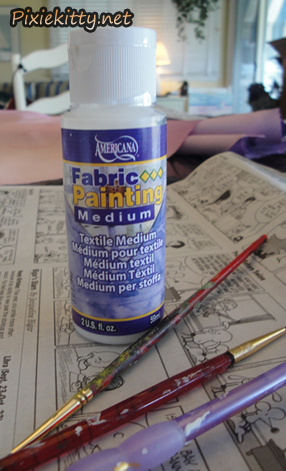
Acrylic paint mixed with Textile Medium
|
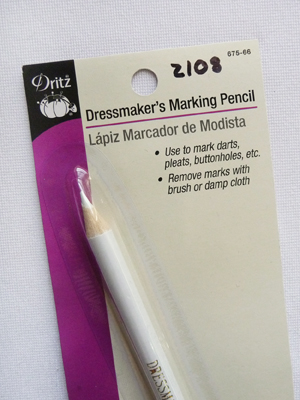
Dressmaker's Marking Pencils
|
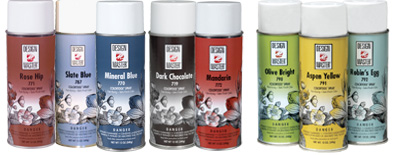
Design Master Color Tool Spray
|
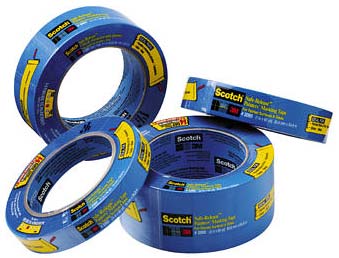
Painters tape
|
Newspaper
|
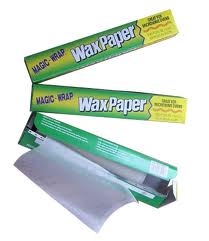
Wax paper
|
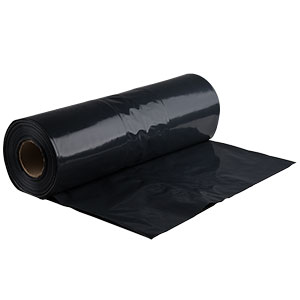
Giant trash bags! (to prevent paint from bleeding onto other stuff while painting your fabric) |
|
||
Gradients with Design Master Color Tool Paint:
This used to be called "Floral Spray", but has since been renamed as "Color Tool". It comes in a spray can the size of normal spray paint, but it's great to use on fabrics, and won't stiffen them like normal spray paint would. You can use this stuff to get lots of great color and gradient effects! It is especially useful for fabrics like Polyester that dont take dye well. Craft stores like A.C. Moore and Michaels carry it; you can also get it online.
http://www.dmcolor.com/products/
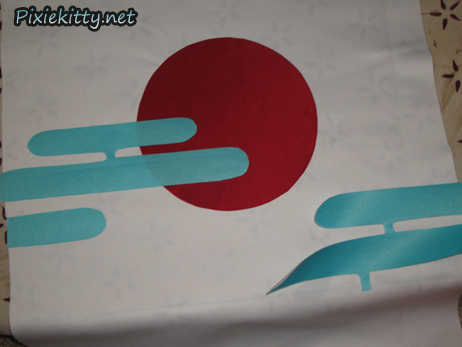
These images are just some basic examples of what you can acheive with this stuff. For a more detailed process involving graidents, Heat n' Bond, and painting, scroll down for my "Houmei Peacock Kimono" tutorial.
(Color Tool spray is an excellent choice for coloring velvet materials...it shows up very crisp and vivid!)
Pattern Tracing Paper and Acrylic Paint mixed with Textile Medium:
This can be found at craft stores and sewing stores such as Joann Fabrics. It works like carbon paper. A pack comes with several different colors to use for different shades of fabric. I use red or blue on white fabric, and the white on the darker fabrics.
This is how I use it:
1. Draw or print out the design on paper.
2. Place the tracing paper on top of the fabric in the spot you want to transfer the design to (with the chalky colored sign face down). Tape it down with Painter's Tape to hold it in place).
3. Place your printed design on top of the paper. Tape this down to the transfer paper to hold it into place. I like to use Painters tape as it tends to come off stuff more easily. ALSO! Make sure the fabric is on a hard surface
4. Using a pen, trace over on your design while putting firm pressure.
5. Remove the tracing paper, and you should see an outline of the design. Now you have a template to paint your design!
I have also used it to transfer images to armor pieces and vinyl. :) It works out pretty well.
The key is to secure your image so it does not move while you're tracing over it.
6. Mix your acrylic paint with some textile medium according to the directions on the bottle, and start painting! Go slowly with thin layers or paint. It is better to do several layers of light coats than one blob that is messy and well...blobby looking.
NOTE: It is wise to place something like a plastic trash bag on the under side of the fabric you are painting...because some of the paint may be bleed through to the other side. So if you're painting a sleeve, you don't want it to bleed onto the other side of the sleeve! You should paint all designs on fabrics BEFORE lining them to avoid paint bleeding on toyour pretty lining.
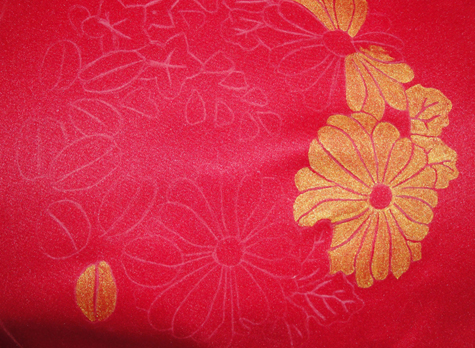
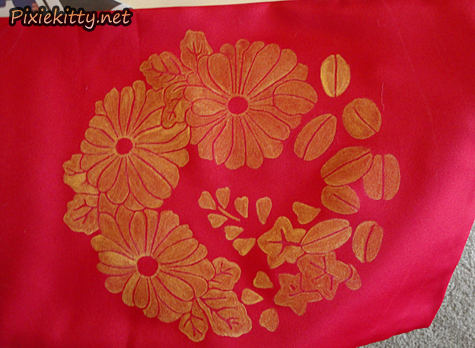
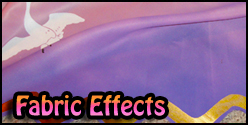
Here is the finished producted after a few layers of paint:
Fun with Heat N' Bond!
With Satin Stitch:
You can do so much with this stuff! You can buy different strengths in rolls, folded sheets, or even little rolls of thin Heat N' Bond tape for smaller projects. It's best to use the "sewable" Heat N' Bond in the purple and white package for satin sitching - however, I have successfully sewn over the "Ultra Hold" in the red and white package.
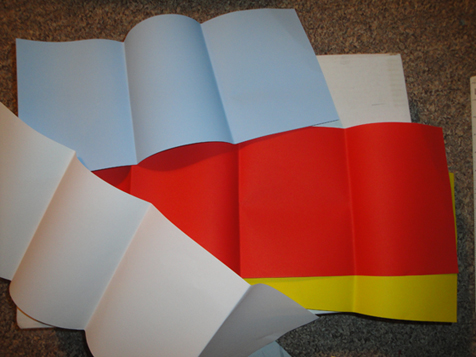
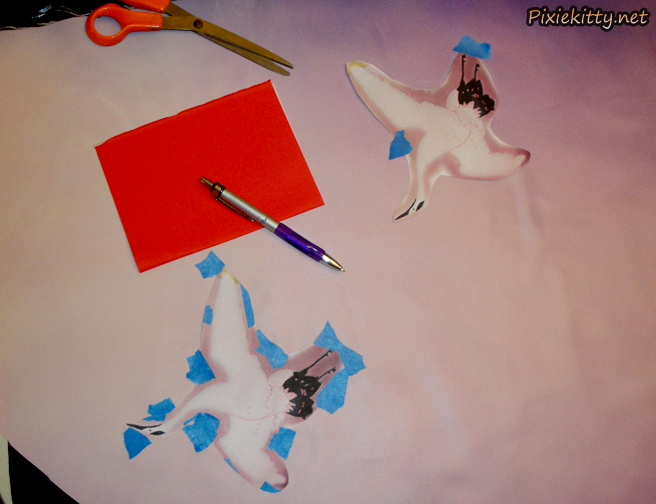
1.) Sketch your image onto paper (I used white printer paper here)
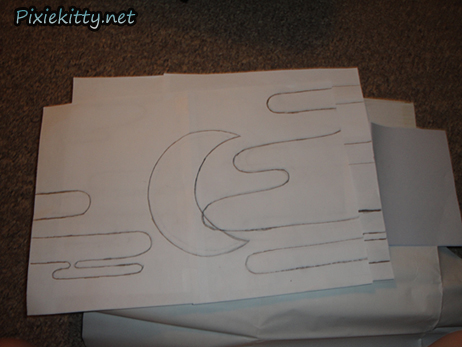
2.)
Using pattern tracing paper (as seen above), transfer your image onto the back (paper covered) side of the heat n' bond sheet.
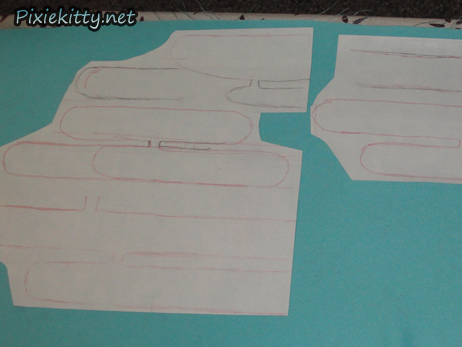
3.) Cut out the designs, leaving about 1/2 inch of extra Heat N' Bond around the image -I do this to prevent the fraying on the edges of the fabric once it's cut out. (You can see what I mean in the photo at step 5 - I didn't cut the images out exactly along the lines yet)
4.)
Put your fabric over an ironing board, and place the glue side down (paper covered side with images faceing up), and put firm pressure on it with an Iron set to medium heat. Do this for about 2 seconds (according to the package instructions), but sometimes I end up ironing a little longer.
Note: If you have the heat on your iron too high or hold the iron down on the fabric for too long, it can cause darkened spots on your image as the glue sort of melts through the fabric...not cool. I learned this the hard way SEVERAL times, and I still do it sometimes! ugh!)
5.) Let the fabric cool completely before working with it or moving it. Once it has cooled, you can cut the designs out along the traced lines (without leaving the extra space around it). At this point the paper backing will still be attached to your cut out pieces.
6.) Carefully pull the paper back away from the cut out fabric designs. Place the glue side face down onto the fabric you want to add the design to, and firmly iron on medium heat - taking care to thouroghly go over all of the edges.
The directions on the package say to hold the iron on the fabric for 8 seconds for cotton and 6 seconds for lighter weight fabrics. I honestly have never paid attention to how long I hold the iron down...maybe I should >_>

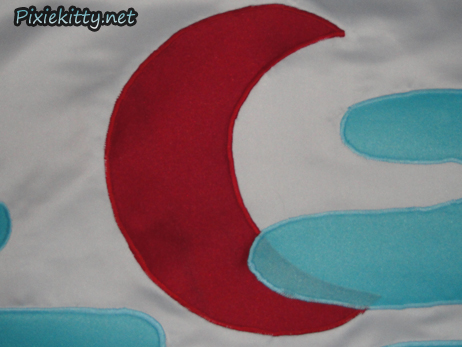
7.) Once your images are bonded to your fabric, you can "happily" satin stitch around the edges with a tight zig zag sitching around all of the edges. This took some practice, and I still have a difficult time going around curves...so take it slow.
Note: If you are using the Ultra Hold Heat N' Bond, you don't need to satin stitch the images to hold them on - satin stitching is basically just a finishing detail that looks really nice.
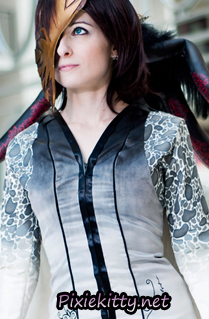
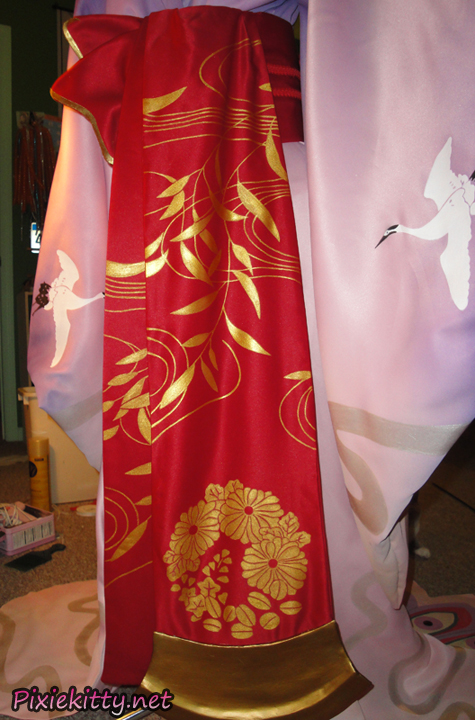
(if you look closely you can see the stitching aroud the edges of the fabric in this photo - I like to use thread that is as close to the fabric color as possible)
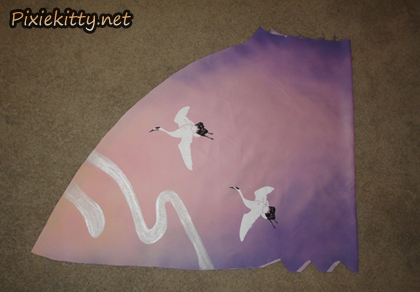
Finished Product:
Heat N' Bond with Floral Spray and Fabric Paint:
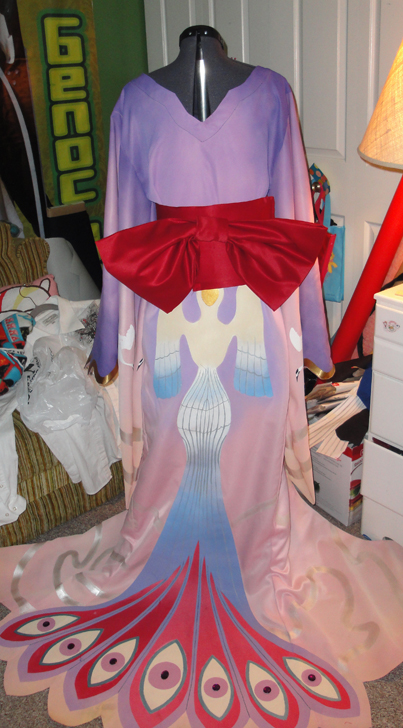
I am going to go through a step by step process of my adventures with my Houmei Peacock Kimono for this section. It was a lot of planning and messing up, and getting frustrated...but the end result came out really well. I had never done such a huge image with Heat N' Bond before, so this was a challenge!
I hope someone will find this helpful, because I certainly learned alot with it! I feel like this tutorial is a mish mash or random thoughts, so if something does't make sense, please feel free ask questions!!
And...Here we go!
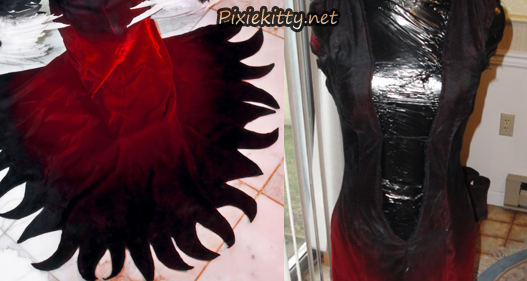
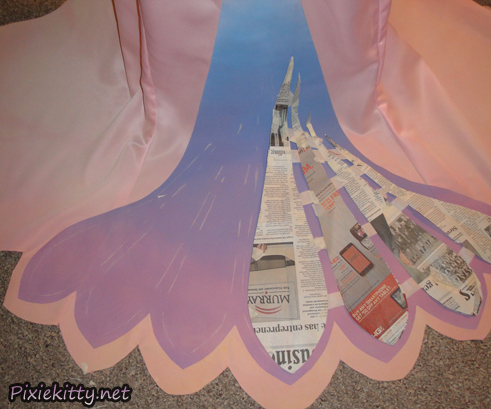
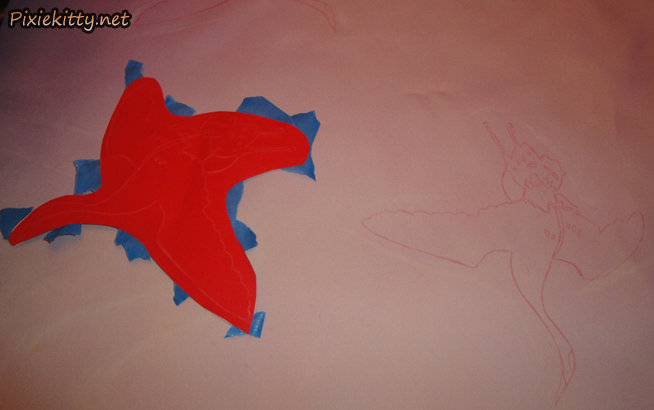
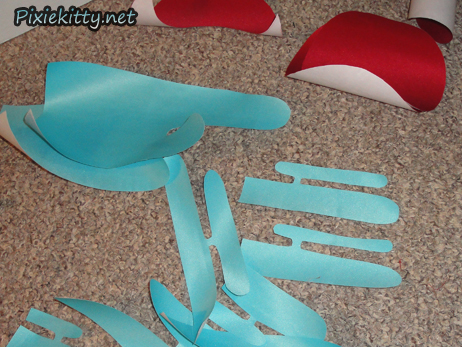
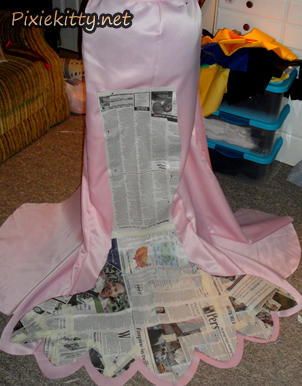
1.) I drafted the shape I wanted out of newspapers taped together. Once I made the pattern, I used it to cut out the image from ivory Polyester satin (which does not dye - hence why I will be using floral spray aka "Design Master Color Tool Spray" to get my color variations.
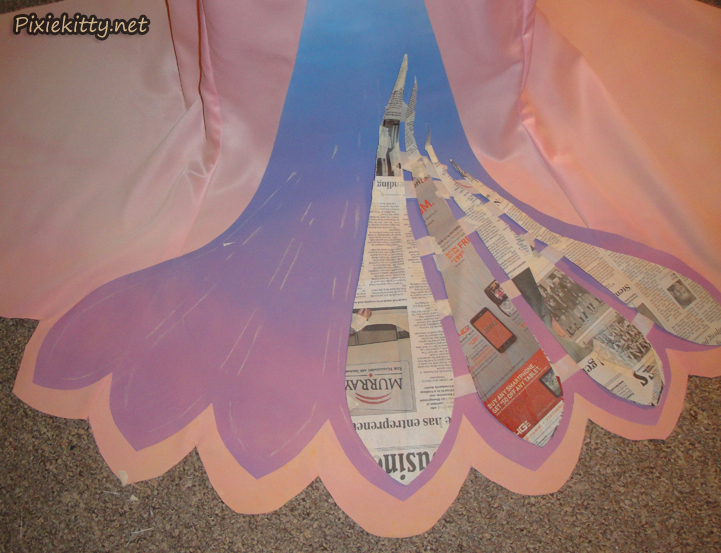
2.) After cutting out my design (but before bonding it to the kimono), I used the Color Tool Spray to acheive the blue gradients on the tail and wings.
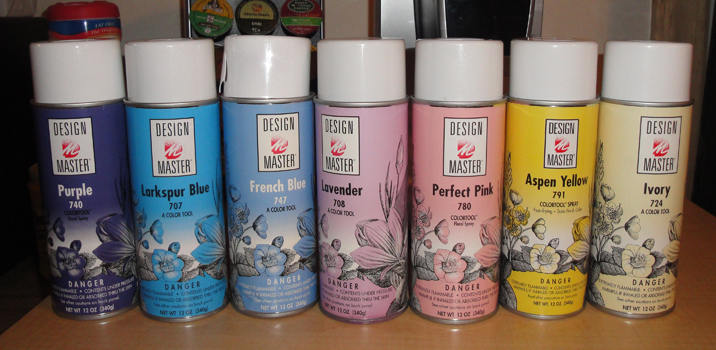
(these are the various colors I used for my Kimono)
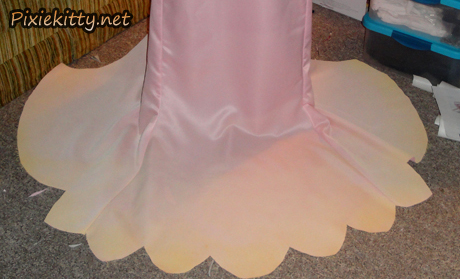
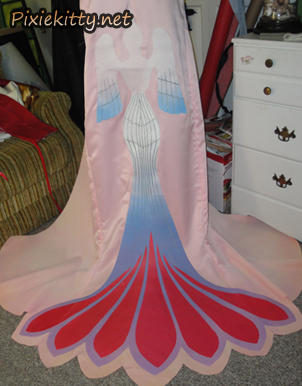
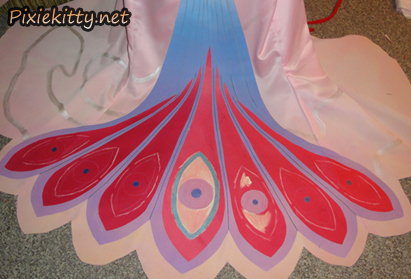
3.) I bought Heat N' Bond in a large roll for this, but even then I had to use several pieces to cover the back of the image. After bonding the image to the Kimono, I cut out the pink peices of the tail and then Heat N' bonded the heck out of those things too. - It was sort of like building it up in layers. I applied the Heat N' Bond as stated in the earlier part of this tutorial.
All of the little lines and details were hand painted on with Acrylic paint mixed with textile meidum.
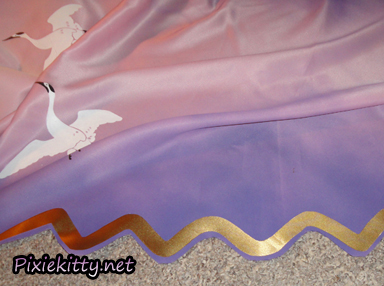
4.) After getting all of this on there, I realized she has a purple hue around the outside of the bird. Well poo....
So...I came up with the idea to cut out some wax paper in the shape of hte bird and tape it on with Painters Tape. I wanted to use the see through wax paper so I can see what i'm doing around the edges of the image more easily.

Above photos: Before purple hue and then after crazy purple hue explosion all over the place!
The finishing touches on the bird were to paint the eyes on the peacock feathers. This part was all done with acrylic paint mixed with Textile Medium. Then I glued some purple jewels in the centers with hot glue.

I do love Design Master Color Tool Spray (which is what it's now called instead of just "Floral Spray". I have found so many uses for it in my costume adventions! It's great for custom coloring un-dyable laces, and gradients on fabrics that do not dye like polyester satins (also known as Casa Satin at Joann Fabrics)
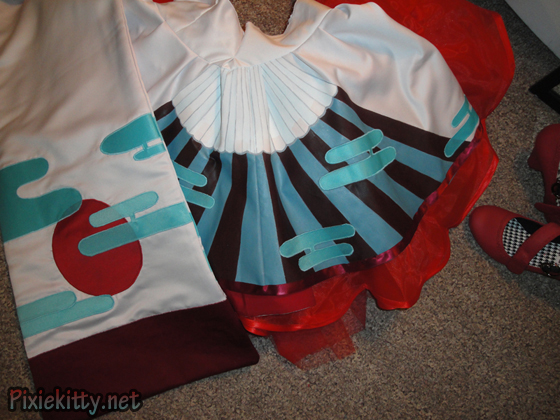
The final product! A giant cluster of gradients, paint, and Heat N' Bond all joined together in harmony! lol. wooohoo.

I hope You found this tutorial helpful! :) Please feel free to email me with any questions! pixiekitty (@) pixiekitty.net